Updating Your Device Over the Air (OTA)
Connect your device to Wi-Fi. Do so by swiping down from the top of your screen and tapping the Wi-Fi button.
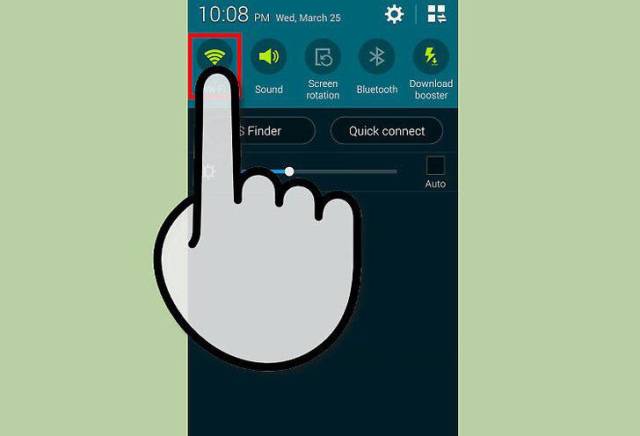 step1
step1- Check out this guide for details on connecting to a wireless network.
- Updating Android over Wi-Fi is the simplest and most recommended way of doing so.
Open your device’s Settings. It's typically a gear-shaped (⚙️) icon but could also be an app that looks like a series of slider bars.
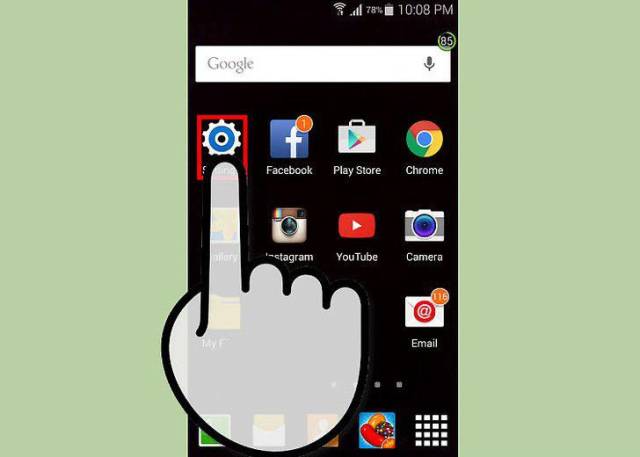 step 2
Scroll down and tap About Device. It's near the bottom of the menu.
- On a tablet, you may need to tap the General tab at the top of the screen first.
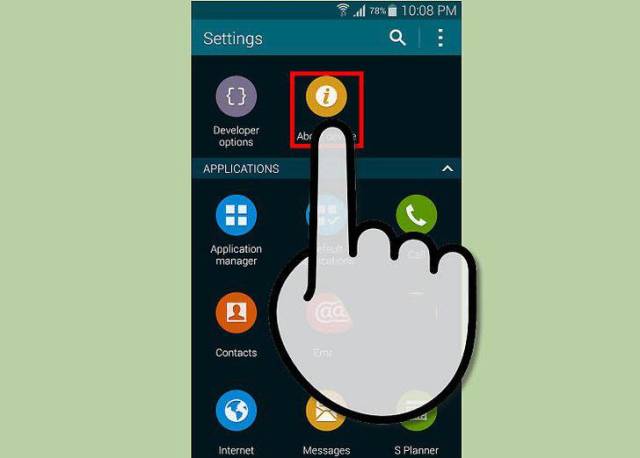 step 3
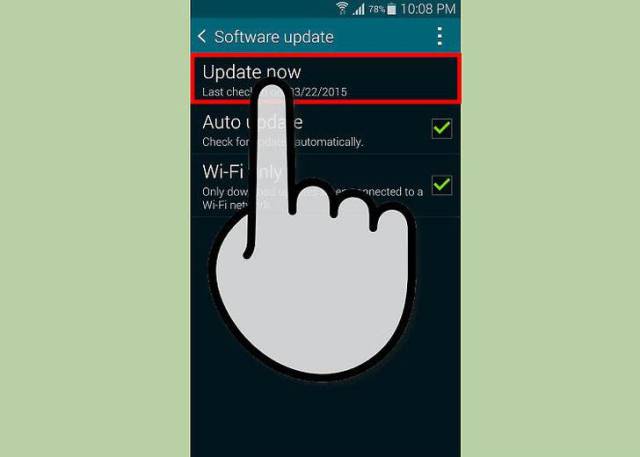
Tap Update. It's at the top of the menu, and depending on the version of Android you're running, may read "Software Update" or "System Firmware Update".
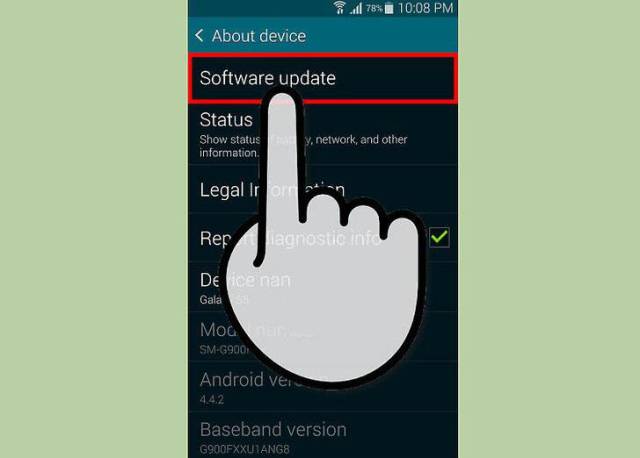 step 4
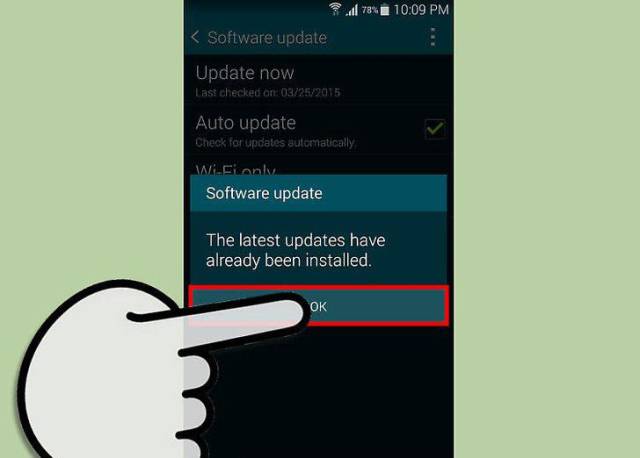
Tap Check for Updates. Your device will search for available system updates.
- Many versions of Android are device-specific. Your device will only search for updates that are compatible with your device.
Tap Update. If there is an update available, this button will appear at the top of the menu.
 step 5
Tap Install. The button may also read "Reboot and Install" or "Install System Software". This starts the download and installation process.
Wait for the installation to complete. Your phone will automatically reboot when the installation finishes.
 step 6
No comments:
Post a Comment
Thanks for sharing your views